Image Editable
Description
The image editable adds a placeholder for images out of the assets module. The biggest advantages of using that instead of (for example) the relation editable:
- You are able to specify generated thumbnail properties (including high-res)
- There is an image preview rendered in the administration panel
- You can specify additional attributes for generated
<img>or<picture> - You can crop the image directly inline
- You can put hotspots and markers on the actual image
Configuration
| Name | Type | Description |
|---|---|---|
title | string | You can give the image widget in editmode a title. Using the new style this title is displayed as a tooltip. |
width | integer | Width of the image in pixel |
height | integer | Height of the image in pixel |
thumbnail | string|array | Name of the configured thumbnail as string or a thumbnail config as array |
hidetext | boolean | Hides the input for the ALT-text in editmode |
reload | boolean | Set true to reload the page in editmode after updating the image |
minWidth | integer | Min. width of the image (in pixel) |
minHeight | integer | Min. height of the image (in pixel) |
ratioX | integer | Set width in pixel to make sure a fixed aspect ratio size is choosen in the crop tool. Must be used with ratioY. |
ratioY | integer | Set height in pixel to make sure a fixed aspect ratio size is choosen in the crop tool. Must be used with ratioX. |
uploadPath | string | Target path for (inline) uploaded images. The target folder(s) will be created on the fly, if doesn't exist. |
disableInlineUpload | boolean | Disable the inline upload. If set to true, the inline upload functionality will be disabled. |
highResolution | float | Factor the thumbnail dimensions should be multiplied with (html attributes width and height contain the original dimensions ... used for Retina displays, print, ...) |
dropClass | string | This option can be used to add multiple alternative drop-targets and context menus on custom HTML elements in your code. Just add the class specified here also to custom HTML elements and they will get a drop target too. |
deferred | bool | Set to false to disable deferred (on demand) thumbnail rendering |
class | string | A CSS class that is added to the surrounding container of this element in editmode |
predefinedDataTemplates | array | Add predefined config sets for hotspots and images |
cacheBuster | bool | (default: false) Add cache-buster prefix with modificationDate timestamp |
required | bool | (default: false) set to true to make field value required for publish |
Additionally you can also pass any valid attribute for Thumbnail::getHtml().
Methods
| Name | Arguments | Return | Description |
|---|---|---|---|
getThumbnail($name) | (string/array) $name | Pimcore\Model\Asset\Image\Thumbnail | Get a specific thumbnail of the image |
getText() / getAlt() | - | string, alt/title text from the image | The entered alternative text in the widget |
getSrc() | - | string, absolute path to the image | The path to the original image which is referenced |
getImage() | - | \Pimcore\Model\Asset\Image | The asset object which is referenced (\Pimcore\Model\Asset\Image) |
getHotspots() | - | array | Returns the hotspot data (see example below) |
getMarker() | - | array | Returns the marker data (see example below) |
isEmpty() | - | bool | Whether the editable is empty or not |
Examples
Basic usage
{{ pimcore_image("myImage") }}
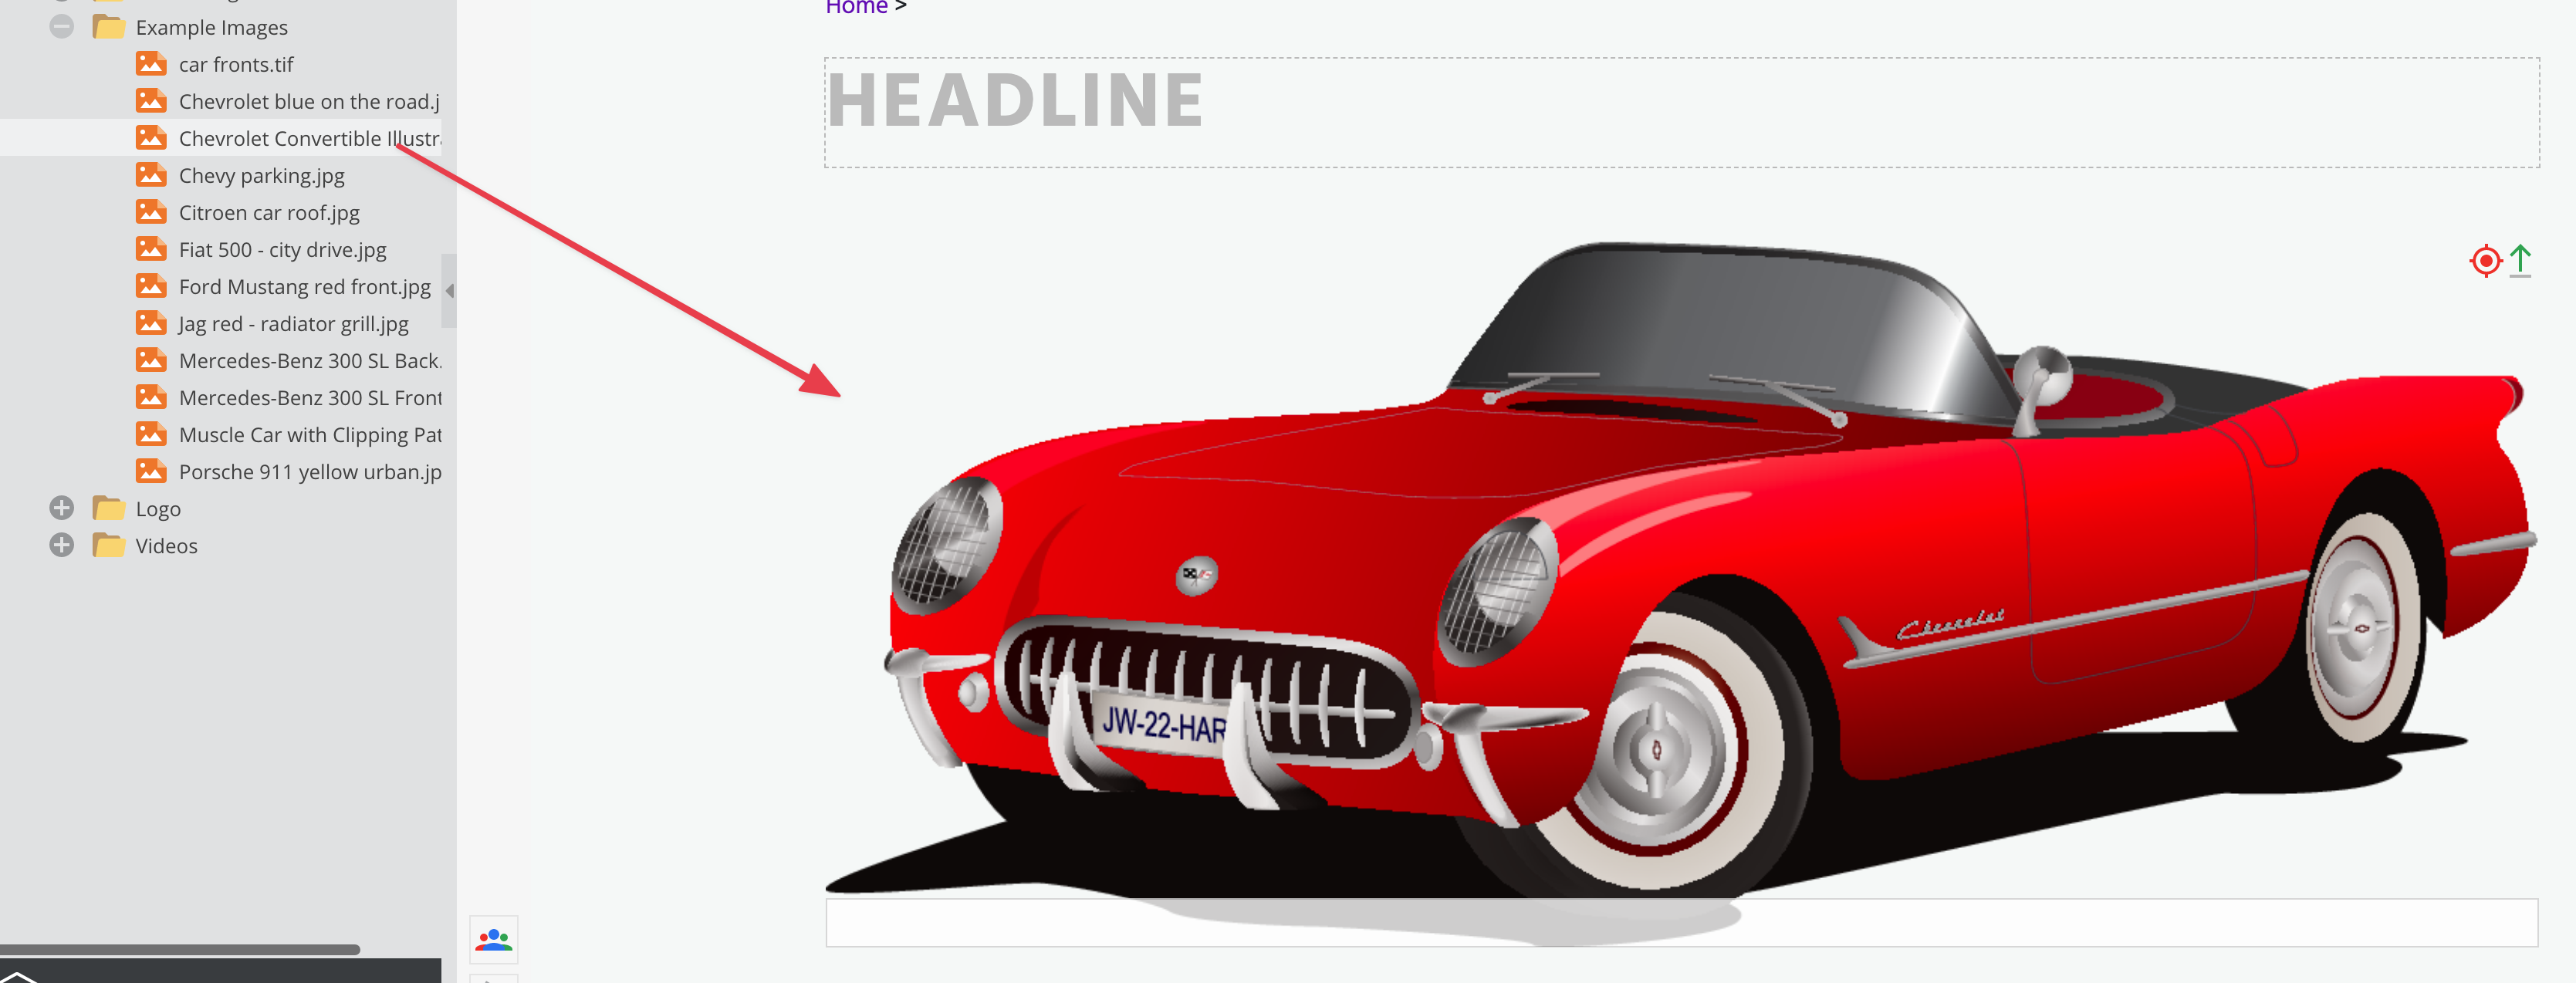
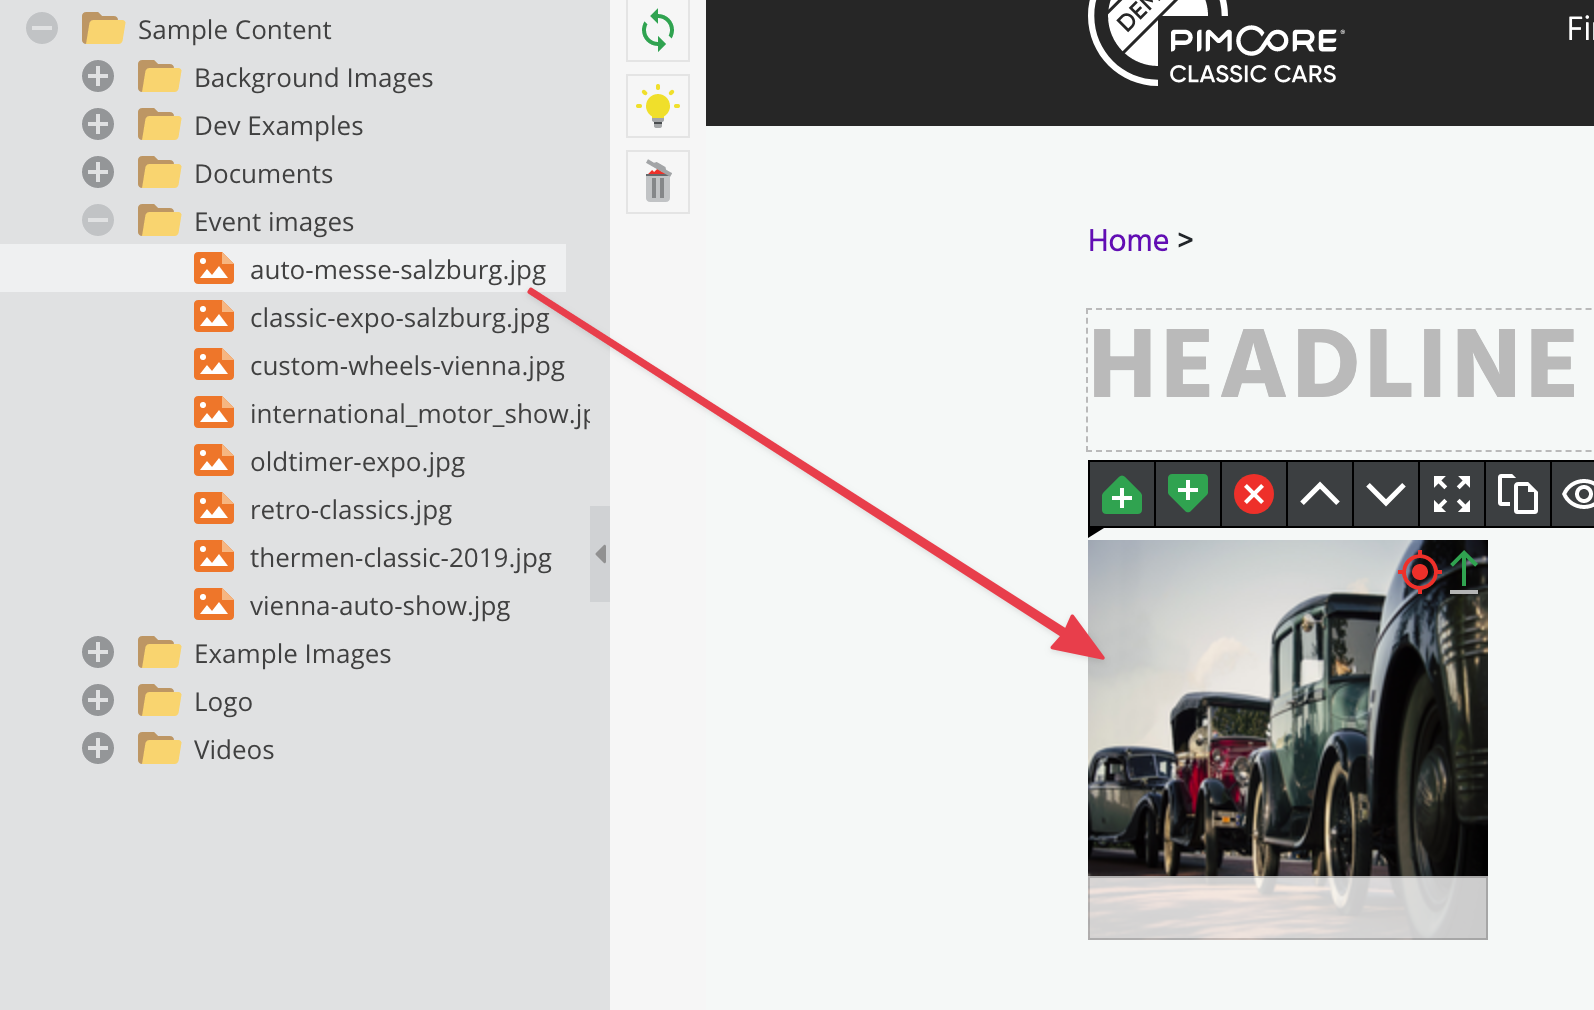
The code above generates an image area in the backend and displays the image at the frontend.
The empty backend area:


The filled backend area:

Advanced Usage
In the example below you can see how to add a title and specify size of the image area. Note that if you use the thumbnail argument, the rendered image on the frontend will use the specified thumbnail.
Learn more about thumbnails here: Image Thumbnails.
{{ pimcore_image("myImage", {
    "title": "Drag your image here",
    "width": 200,
    "height": 200,
    "thumbnail": "contentimages"
}) }}
Backend Preview

An Example with a Direct Thumbnail Configuration
You can also change the thumbnail configuration:
{{ pimcore_image("myImage", {
    "title": "Drag your image here",
    "width": 200,
    "height": 200,
    "thumbnail": {
        "width": 200,
        "height": 200,
        "interlace": true,
        "quality": 90
    }
}) }}
And this is how the rendered html looks: <img custom-attr="value" data-role="image" src="/var/tmp/image-thumbnails/0/56/thumb__content/dsc03807.jpeg" />
Other Advanced Examples
{# Get retina image #}
{{ pimcore_image("myImage", {
    "thumbnail": {
        "width": 200,
        "height": 200
    },
    "highResolution": 2
}) }}

{# Will output<img src="/var/thumb_9999__auto_xxxxxxxx@2x.png" width="200" height="200" /> <!-- but the real image size is 400x400 pixel --> #}


{# Custom image tag (thumbnail objects) #}
{% if editmode %}
    {{ pimcore_image("myImage",{"thumbnail": "myThumbnail"}) }}
{% else %}
    {% set thumbnail = pimcore_image("myImage").getThumbnail("myThumbnail") %}
    <img src="{{ thumbnail }}" width="{{ thumbnail.width }}" height="{{ thumbnail.height }}" />
{% endif %}


{# Custom drop targets #}
<div class="myCustomImageDropTarget anotherClass">My first alternative drop target</div>
{{ pimcore_image("image",{
    "thumbnail": "contentfullimage",
    "dropClass": "myCustomImageDropTarget"
}) }}
<div class="myCustomImageDropTarget someClass">My second alternative drop target</div>
Field-specific Image Cropping for Documents
Backend Usage
Right-click on the image editable in editmode and press Select specific area of image


Now you're able to select the desired area on the image:
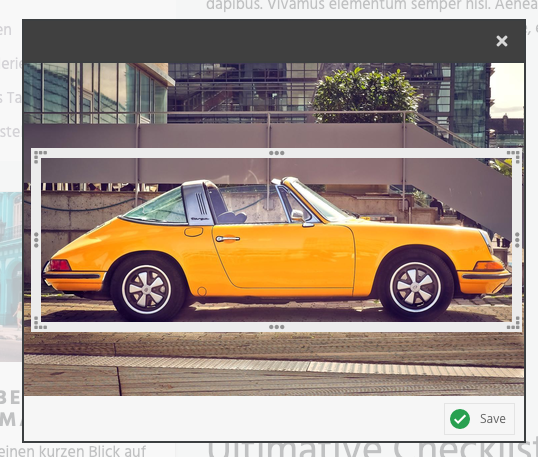

Therefore, there is no need any more to define specific images or thumbnails if a specific region of an image should be displayed. Just assign the original image and define field specific cropping directly within the document.
Markers & Hotspots
This functionality is available on every image editable (no configuration necessary).
Setting a marker or a hotspot on an image has no direct effect on the output, the assigned image is displayed as usual.
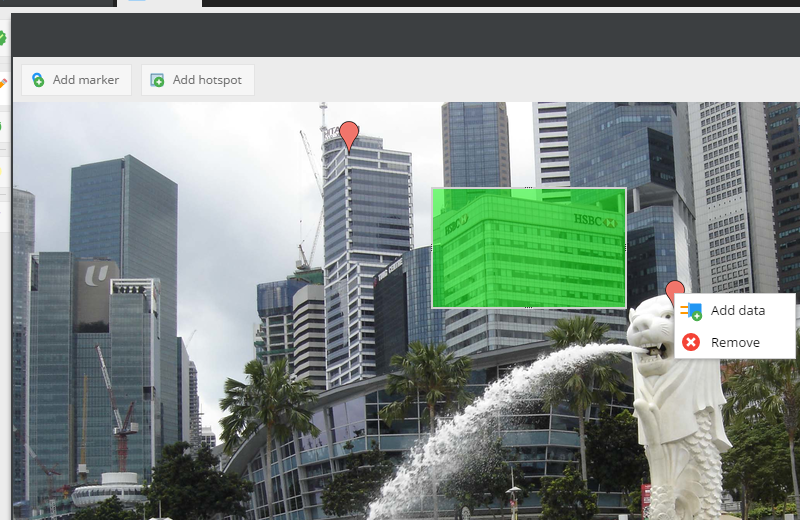

You as a developer have to get the data out of the image editable to build amazing frontends with it.
You can get the data with the methods getMarker() and getHotspots().
All dimensions are in percent and therefore independent from the image size, you have to change them back to pixels according to your image size.
Code Usage Example
<div>
    <p>
        {{ pimcore_image("myImage",{
            "title": "Drag your image here",
            "width": 400,
            "height": 400,
            "thumbnail": "content"
        }) }}

        {% if not editmode %}
            {% set image = pimcore_image("myImage") %}
            {% if image.getHotspots() %}
                {{ dump(image.getHotspots()) }}
            {% endif %}
            {% if image.getMarker() %}
                {{ dump(image.getMarker()) }}
            {% endif %}
        {% endif %}
    </p>
</div>


{# Predefined Data Templates; use "hotspot" instead of the "marker" key to add templates for hotspots #}
{{ pimcore_image("image", {
    'thumbnail': 'my-thumbnail',
    'predefinedDataTemplates': {
        'marker': [
            {
                'menuName': 'Menu Name',
                'name': 'Config Name',
                'data': [
                    {
                        'name': 'my textfield',
                        'type': 'textfield',
                    }
                ]
            }
        ]
    }
}) }}
getHotspots output:
array(1) {
  [0] => array(6) {
    ["top"] => float(36.8)
    ["left"] => float(39.5)
    ["width"] => int(5)
    ["height"] => float(6.6666666666667)
    ["data"] => array(2) {
      [0] => object(Pimcore\Model\Element\Data\MarkerHotspotItem)#171 (3) {
        ["name"] => string(30) "checkbox_data_added_to_hotspot"
        ["type"] => string(8) "checkbox"
        ["value"] => bool(true)
      }
      [1] => object(Pimcore\Model\Element\Data\MarkerHotspotItem)#172 (3) {
        ["name"] => string(28) "object_data_added_to_hotspot"
        ["type"] => string(6) "object"
        ["value"] => int(6)
      }
    }
    ["name"] => NULL
  }
}
getMarker output:
array(1) {
  [0] => array(4) {
    ["top"] => float(35.466666666667)
    ["left"] => float(69.9)
    ["data"] => array(1) {
      [0] => object(Pimcore\Model\Element\Data\MarkerHotspotItem)#173 (3) {
        ["name"] => string(31) "Textarea data added to the marker"
        ["type"] => string(8) "textarea"
        ["value"] => string(38) "Here is a description of marked place."
      }
    }
    ["name"] => NULL
  }
}