Matomo (formerly known as Piwik)
Similar to Google Analytics, a Matomo tracking code can be automatically injected into each response. For a basic tracking integration you need to know the following:
- The URL to the Matomo installation you want to use
- The Matomo Site ID where you want to track your site
The Matomo URL needs to be the full URL to your piwik installation including protocol and an optional path on the server if Matomo is not installed into the document root. Valid examples:
-
https://matomo.example.com -
https://analytics.example.com/matomo
Wrong:
-
matomo.example.com -
//matomo.example.com
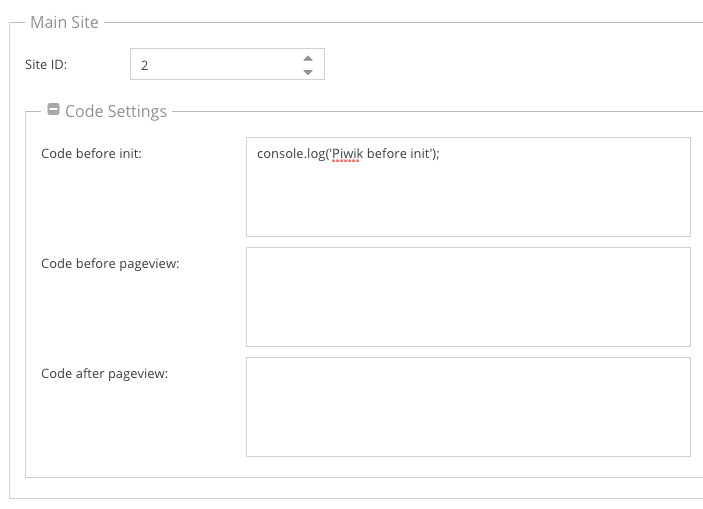
Similar to Google Analytics, you can configure the Site ID and optional code snippets which should be added to the tracking code on a per-site level. All settings can be configured in the Matomo tab of the Marketing Settings panel.
Integrating Matomo into the Admin UI
Matomo reports can be integrated into the Admin UI at several places like the dashboard, the reports panel or as full iframe integration of the whole Matomo app. To make those features available, you need to configure a Report Token in the Authentication Tokens Section of the settings tab. This report token will be used for authentication when integrating report iframes.
The API token for a user can be found in Matomo's API settings panel (please see the Matomo FAQ for details).
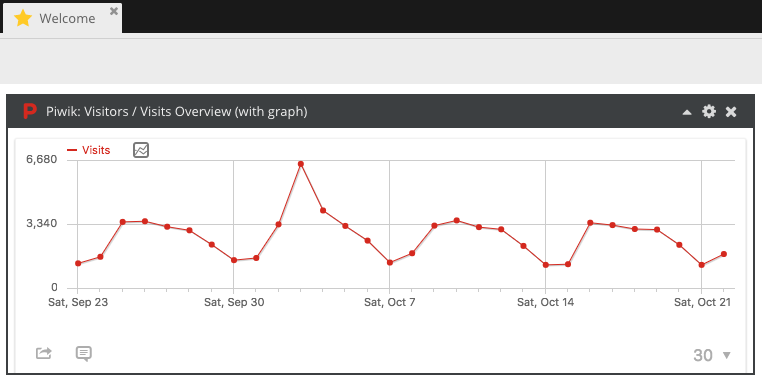
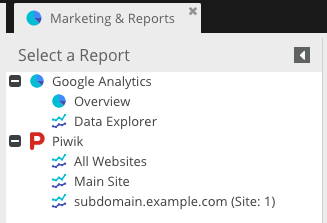
As soon as this token is configured, you can use Matomo's wigets in the Dashboard and the Reports panel:
Important: It is recommended to create a dedicated reporting user with view only permissions and to use this token as report token. As the token acts like a password and can be extracted from the iframe URL, users could potentially use this token to change Matomo settings.
Iframe Integration
Additionally you can integrate the whole Matomo app as iframe by using Matomo's logme() functionality. To use this integration, you need to configure the Matomo username to access to iframe and the MD5 hash of its password (not the plain text password itself!). Similar to the report token, you should use a user with view only permissions here.
Further more, you might need to enable the setting enable_framed_pages in the Matomo config (see
Matomo FAQ) to allow the iframe to be displayed.
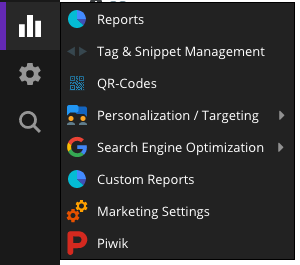
After the iframe integration is configured, you'll find a new menu entry in the marketing menu:
Updating site settings from the Pimcore Admin
Certain site settings (currently only the list of valid domains) can be automatically exported from Pimcore to the Matomo site configuration. To activate this feature, you need to configure an API token which will be used for API requests.
As you'll use this token to update Matomo's settings, this token (its user) needs to be configured with write access.
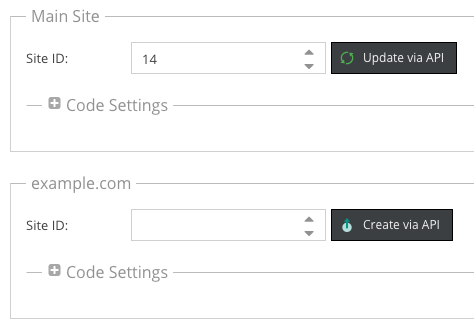
With a configured API token, each site will show a button to either create a site or update a site's settings:
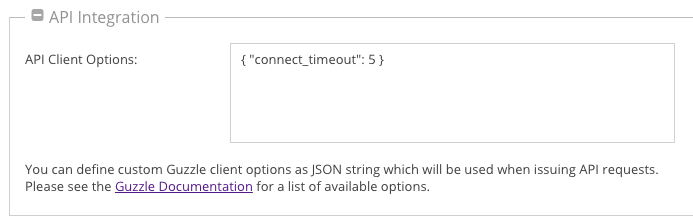
If you need to pass custom options to the Matomo API client, you can configure a list of Guzzle Request Options as JSON string in the API Integration section:
Customizing the tracking code
If you want to influence the generated tracking code, you have multiple possibilities to do so. The tracker code is divided into multiple code blocks which can be expanded and altered individually. As reference, please see:
- the definition of available blocks in the Tracker implementation
- the template which defines where the content of each blocks is rendered
Adding code to a block
The central part of the Matomo tracking is the Pimcore\Analytics\Piwik\Tracker class which is defined as service and which
provides a addCodePart() method which allows you to add custom code snippets to a specific block:
<?php

namespace AppBundle\Controller;

use Pimcore\Analytics\Piwik\Tracker;
use Pimcore\Analytics\SiteId\SiteId;

class ContentController
{
    public function defaultAction(Tracker $tracker)
    {
        // append a part to the default block
        $tracker->addCodePart('console.log("foo");');

        // append a part to a specific block
        $tracker->addCodePart('console.log("foo");', Tracker::BLOCK_BEFORE_TRACK);

        // prepend a part to a specific block
        $tracker->addCodePart('console.log("foo");', Tracker::BLOCK_TRACK, true);

        // you can also add the code only for a specific site
        // if you want to do so, you need to pass a SiteId object which identifies a tracking site
        $tracker->addCodePart('console.log("foo");', Tracker::BLOCK_TRACK, true, SiteId::forMainDomain());
    }
}
Influencing generated code through the CODE_TRACKING_DATA event
Before the tracking code is generated, the PiwikEvents::CODE_TRACKING_DATA event is dispatched which gives you full control
over the generated code:
<?php

namespace AppBundle\EventListener;

use Pimcore\Analytics\Piwik\Event\TrackingDataEvent;
use Pimcore\Analytics\Piwik\Tracker;
use Pimcore\Event\Analytics\PiwikEvents;
use Symfony\Component\EventDispatcher\EventSubscriberInterface;

class PiwikTrackingCodeListener implements EventSubscriberInterface
{
    public static function getSubscribedEvents()
    {
        return [
            PiwikEvents::CODE_TRACKING_DATA => 'onTrackingData'
        ];
    }

    public function onTrackingData(TrackingDataEvent $event)
    {
        // append data to a block
        $event->getBlock(Tracker::BLOCK_TRACK)->append([
            'console.log("foo");'
        ]);

        // completely empty the track block
        $event->getBlock(Tracker::BLOCK_TRACK)->setParts([]);

        // the data array is the data which will be passed to the template
        $data = $event->getData();
        $data['foo'] = 'bar';
        $event->setData($data);

        // you can also completely replace the rendered template
        $event->setTemplate('@App/Analytics/Tracking/Piwik/trackingCode.html.twig');
    }
}
Overriding the rendered template
As you can see in the sample event listener above, you can change the template which will be used for the tracking code. If you set a custom template, you can extend the core one and just override the blocks you want:
{# src/AppBundle/Resources/views/Analytics/Tracking/Piwik/trackingCode.html.twig #}
{% extends "@PimcoreCore/Analytics/Tracking/Piwik/trackingCode.html.twig" %}

{% block asyncInit %}
    {{ parent() }}

    console.log('hello world');
{% endblock %}

{% block afterScriptTag %}
    {{ parent() }}

    <script type="text/javascript">
        console.log('foo bar!');
    </script>
{% endblock %}